A proper functioning radiator is very essential to keep your car from overheating. Liquid coolant, heated by the engine, is funneled through the radiator, where it is cooled by heat exchange. Over time, sludge builds up inside the radiator and the coolant becomes less effective, which will hurt your engine performance and gas mileage. Flushing your radiator regularly, usually once every two to five years, will keep you car running smoothly.
Benefits of having your radiator flushed are:
It Removes Rust And Scale Deposit
Over time rust and scale deposits build up within the radiator. A flush helps to remove these deposits which get pushed out with the old anti-freeze. This is important since these build ups can cause overheating or even damage your radiator.
Lubricates Your Water Pump
The additives in the coolant lubricate the vehicles water pump. This will lengthen the life of the water pump.
Removes Contaminants
A flush completely drains the system of the old anti-freeze which means that any contaminants that have made their way into the system will be flushed out as well. The additives in the coolant can lose important anti-corrosive properties over time which leads to the build up of particles. A radiator flush will remove these particles from the system.
Protect Against Rust And Foam
The new anti-freeze will have additives that help prevent rust and build up. It will also prevent foaming in the system which helps it operate efficiently.
Next we will look at how you can effectively flush your radiator by following these simple steps:
Step 1: Ensure The Engine Is Completely Cool
You will not be able to work otherwise. The engine is coolest when it has not been operated for at least two hours. This step is vitally important as coolant in a recently-used engine can be extremely hot and can cause injury if it comes in contact with your skin.
Step 2: Jack Up The Front Of Your Car
While not strictly necessary, raising the front of you car makes it easier to work underneath the radiator and helps eliminate air bubbles from your coolant when you flush the radiator.
Step 3: Raise The Hood And Locate The Radiator
The radiator is usually near the front of the car next to the engine. Clean the metal slats on the front and back of the radiator that allow air to move throughout (otherwise known as fins) with soapy water and a nylon brush. Brush in the direction of the radiator fins to remove dirt and grim (not against — this may cause damage the fins). It may not be possible to clean the slats, as the A/C condenser is sometimes mounted in front of the radiator, blocking the slats.
Step 4: Ensure The Existing Radiator Works Properly And Is In Good Working Order
Look for large patches of rust, corrosion, or leaky pipes and hoses. If, for example, you can smell antifreeze (Read this article here to know the smell of antifreeze) while driving, you may need to take you car in for a larger fix than simply flushing.
Step 5: Center A Drainage Pan Underneath The Radiator’s Drainage Valve, Or Petcock
Petcock’s come in various shapes and sizes, but they are all small plugs that you can pull out to drain away fluid. Put a pan underneath the petcock to catch all of the fluid when you drain it.
The petcock is usually attached to the bottom of one of the radiator tanks and is the only bolt you will find there. You may need to remove a small plastic covering from beneath the radiator to get to the drainage valve. This can be done with a screwdriver.
Step 6: Drain The Radiator By Pulling Out The Petcock
Make sure you are wearing work gloves for this step as radiator coolant is toxic. Once you have drained the coolant, put a lid on your drainage pan and set aside. Take your fluid to a nearby mechanic to be recycled.
Step 7: Flush The Radiator With Water
Draining your radiator will only remove above 40-50% of your old coolant, so you need to flush it with water to get the rest out. To do so:
- Replace the petcock in the radiator.
- Place a garden hose in the fill spout and fill it until you see the water line.
- Start the car and leave it on for 10 minutes. Let the car cool before returning to it.
- Remove the petcock and let the new water drain out into a pan. This water will be tainted by the toxic coolant still in the radiator, so it must be recycled as well. Do not allow this water to drain into the ground.
- Repeat this process 2-3 times.
- You can also buy “radiator flush cleaning solutions” to add with the water for a cleaner radiator. Make sure you drain all of the solution before refilling with coolant.
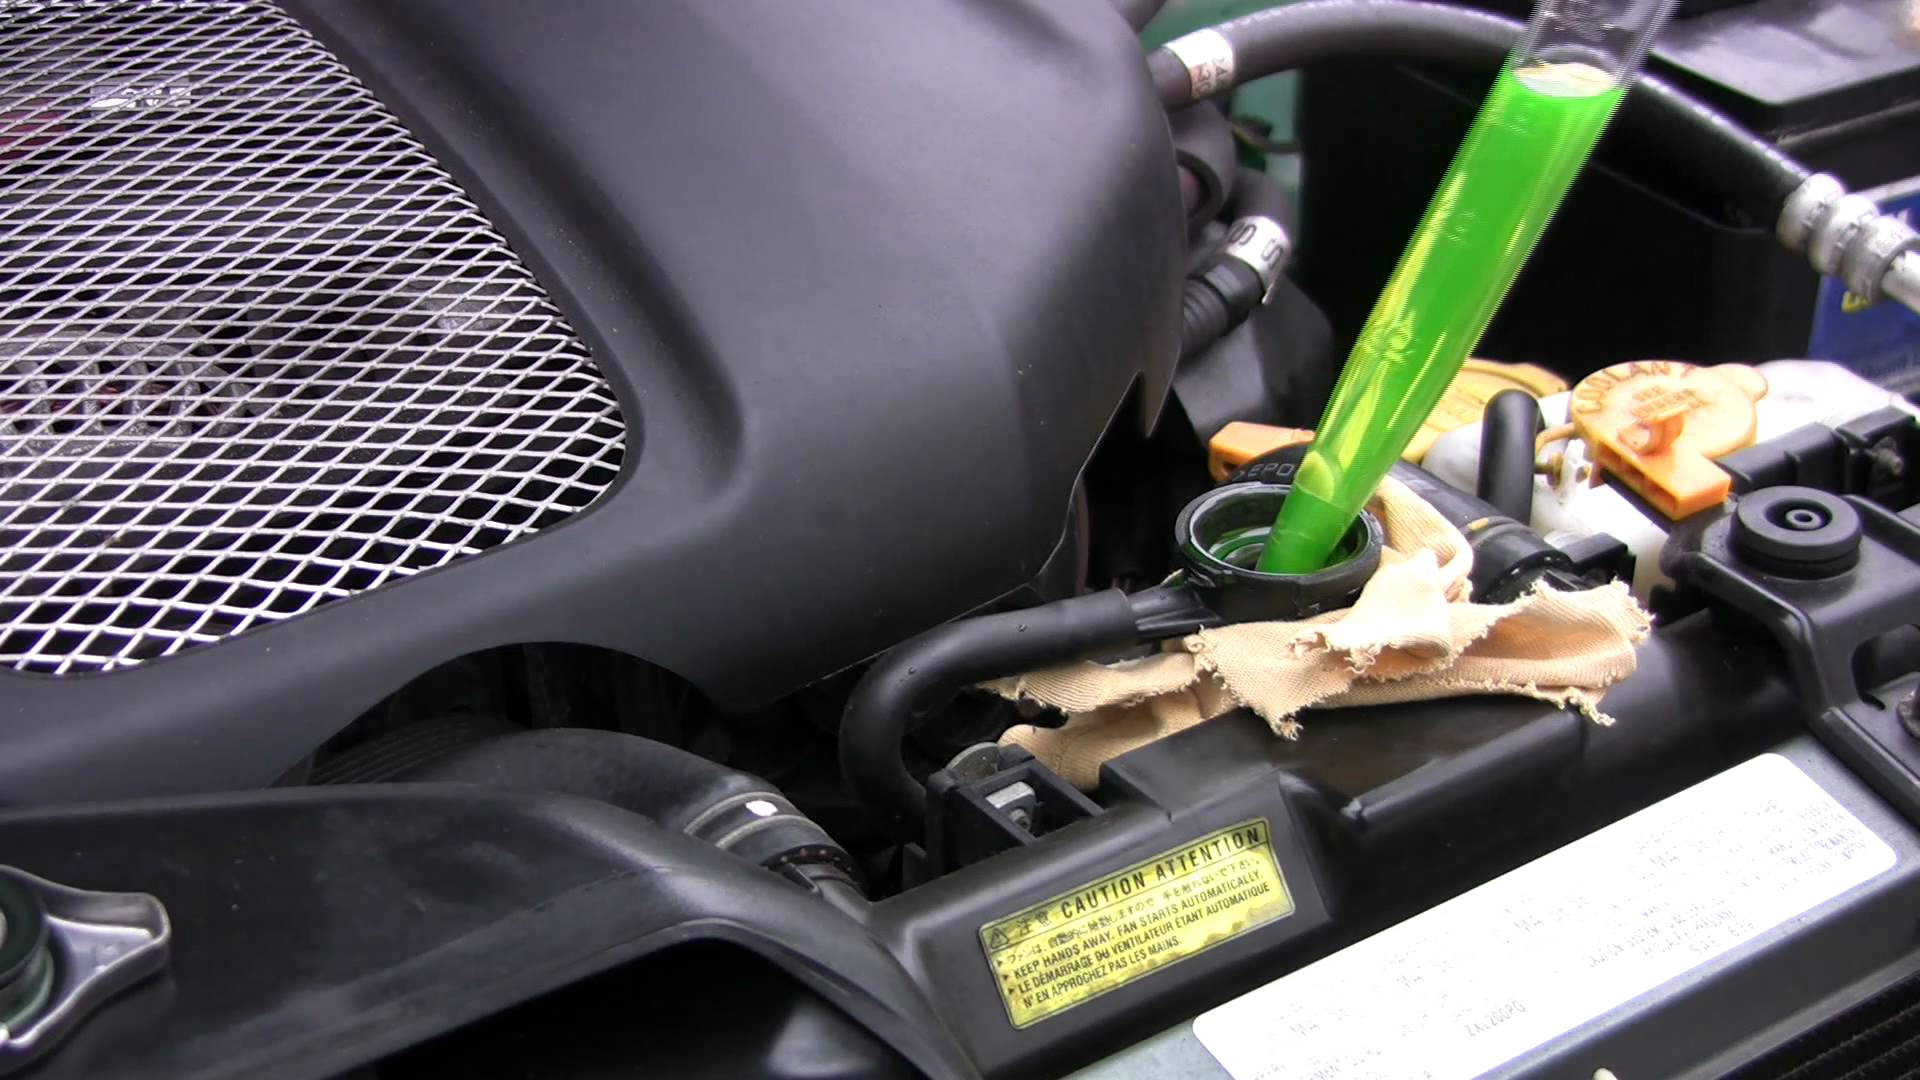
Step 8: Add New Coolant Up To The Fill Line
An ideal coolant consists of 50% distilled water and 50% antifreeze. Combine the two ingredients together in a large bucket before pouring them into the radiator. Make sure you buy the appropriate coolant for your car.
Most cars use green coolant, but Toyota cars specifically need red. Orange coolant is newer and supposedly has a longer lifespan, but it is best to use the same coolant each time you change it. Mixing coolants can cause coagulation of the coolant, leading to costly repairs.
Step 9: Bleed The Radiator Of Any Air Pockets
Take off the radiator cap to allow the air to escape, then turn the car on. Leave it running for 15 minutes allowing all air voids to exit the radiator. This will make more room for coolant, so be sure to add more coolant up to the fill line again.
You can get a good vehicle technician to help you with flushing your radiator HERE
Please drop a comment
 Spot Dem Everything About Cars


